Active Deterrence Cameras are a great way to move the crims on and protect your home or business.
All new OzSpy systems have a simple to use interface allowing you to control your active deterrence cameras easily via the NVR, app or monitor.
For older systems and those that want to delve into the Cameras webserver/GUI, please see all the functions below.
In this article we will discuss setting up an active deterrence camera. These cameras are very advanced can be confusing for the less techy customer as they can be configured at least to some degree via three areas. 1. directly via camera, 2. From app, 3. from NVR.
It is important to note that these cameras need the target to take up a reasonable area of the screen for the AI to correctly detect, and not look downwards too much. A great position for the cameras is 2.5-3 meters high, and the target being around 2-10 meters away, however they will work in other positions.
It is important to remember that for very old OzSpy systems setting these cameras directly from the camera will give you the best result, so this is what we will cover in this article.
Adding Camera to Network
Even though these cameras are PoE and work directly plugged into the NVR, these cameras will deliver far more advanced options running through a PoE switch connected to your network, rather than plugged directly into the back of your NVR. Remember when setting them up through a PoE switch, set the IP address of the camera to match the modem gateway, not the NVR private network.
Setting up your active deterrence camera via camera backend
The first thing you will need to do here is get your camera IP address, which can be done via checking your camera list, or by using the search tool. An IP address looks something like this192.168.1.86.
Once you have your IP address, go to your browser and type in http://Your IP address and you will see the camera login screen.
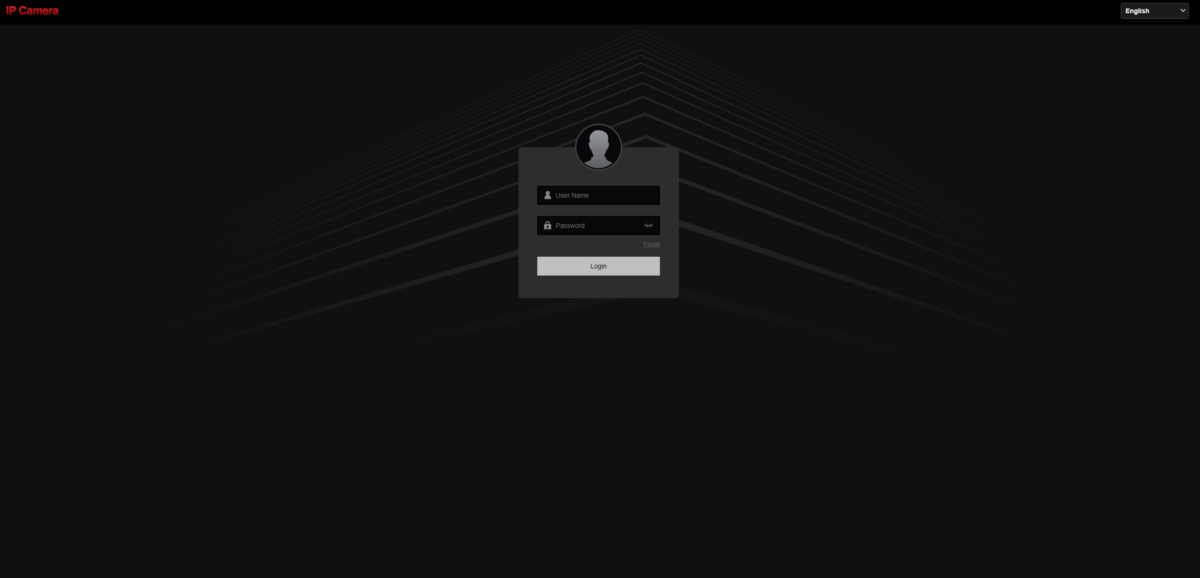
Then login into the camera with default admin/admin or if has been changed, use the new login details. Be very careful here not to change the camera password accidentally as it will need to be reinstalled. To avoid this simply select change after 60 minutes.
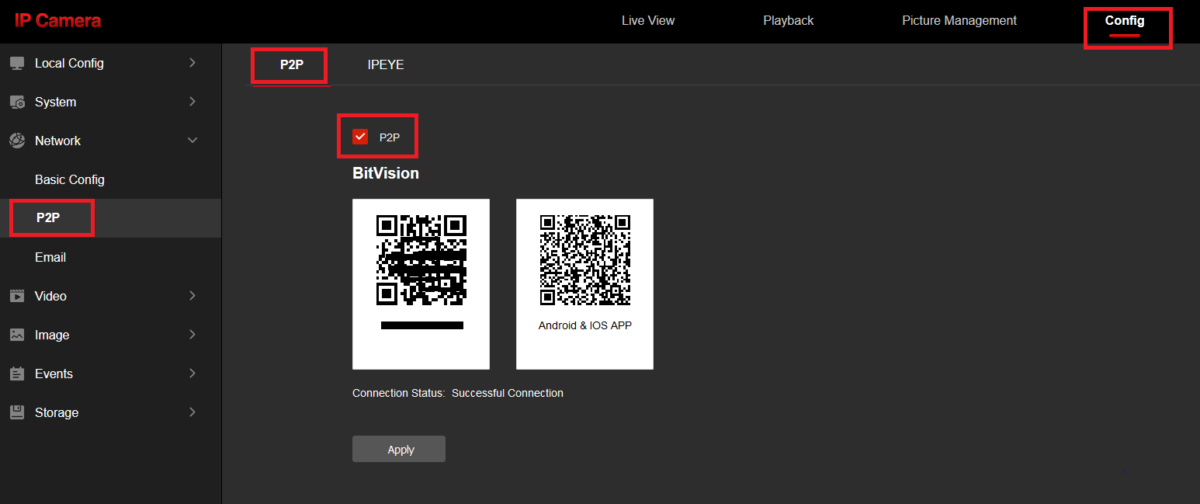
Adding Camera to App
When adding your Active Deterrence camera to your app, follow the normal process for adding a device and scan the QR code sticker on the back of the camera. If you cannot find the sticker, you can log into the camera and add the device as per image.
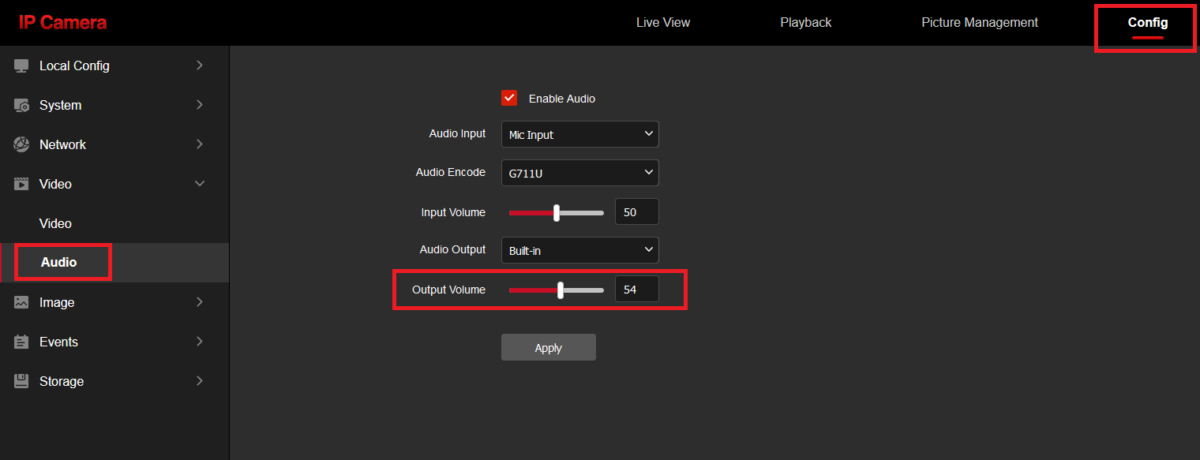
Adjusting Volume
When adjusting the volume output it affects both the speaker and siren. If you feel that the siren is too soft, then raise the value of the volume output, if you fee the siren is too loud, reduce the value of the volume output.
If you feel the microphone is too soft then raise it, otherwise you can reduce it if you hear environmental sounds or feedback.
Three Fill Light Modes Optional
Once in the camera settings, go to image>Day and Night Mode>Fill Light Mode to change the behaviour of the white and IR lights.
White Light Mode:full color all day & night.
IR Mode: Black and White image at night.
Intelligent Mode:Turn on white light when people is detected, Image also switches to colour.

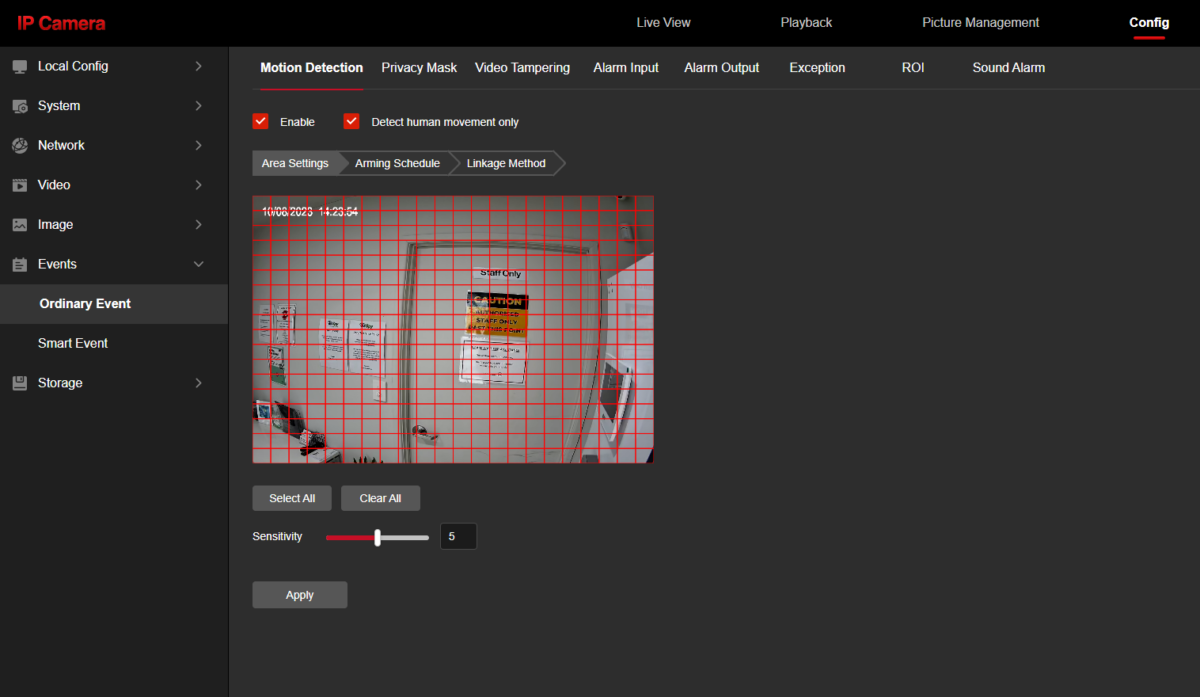
Motion Detection Light & Sound Setting
Select area and set sensitivity (supports movement detection alarm based on human shape detection, supports only detecting human movement function)
The red grid is where the system looks for motion, so you can exclude things like trees or other areas you do not want notifications for.
Select Detect human movement only if you only want to get notification on humans, or unchecked for all notifications.
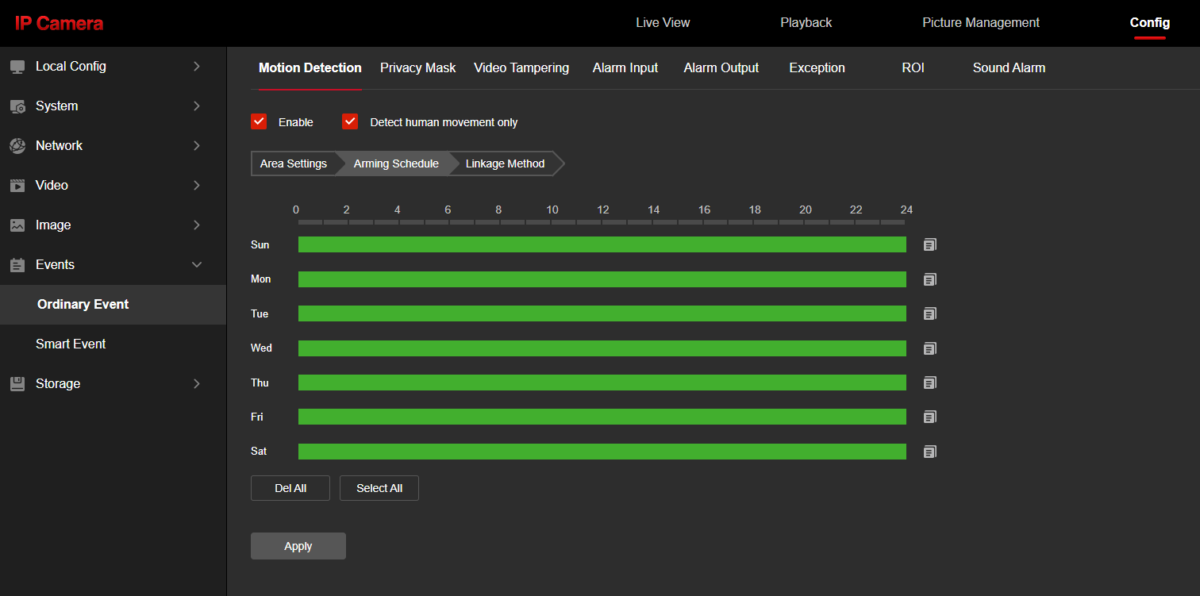
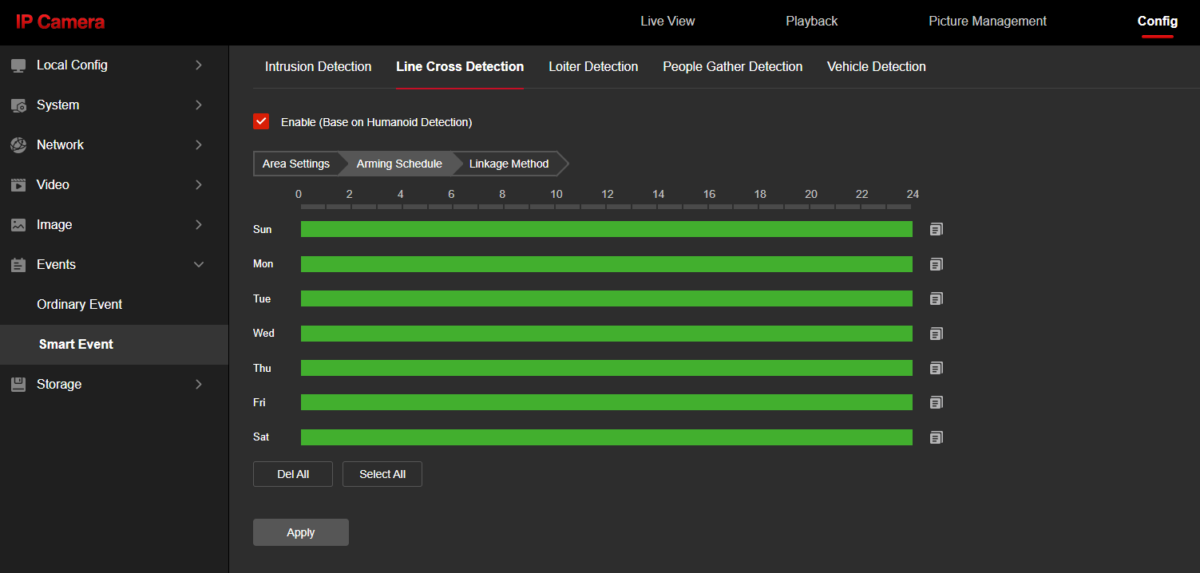
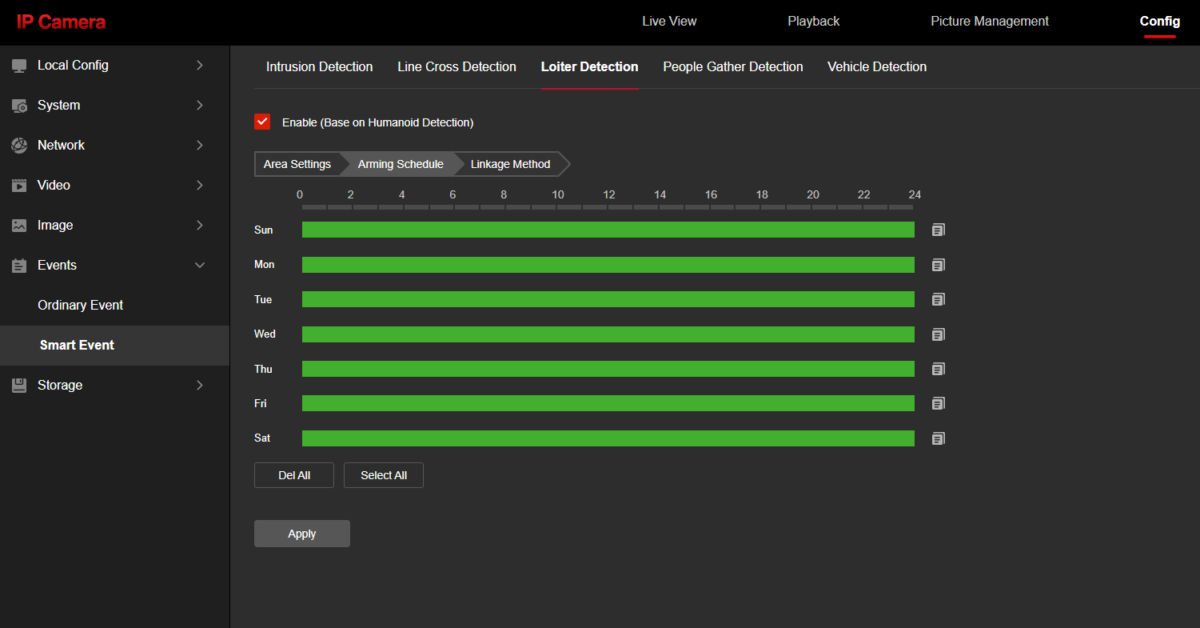
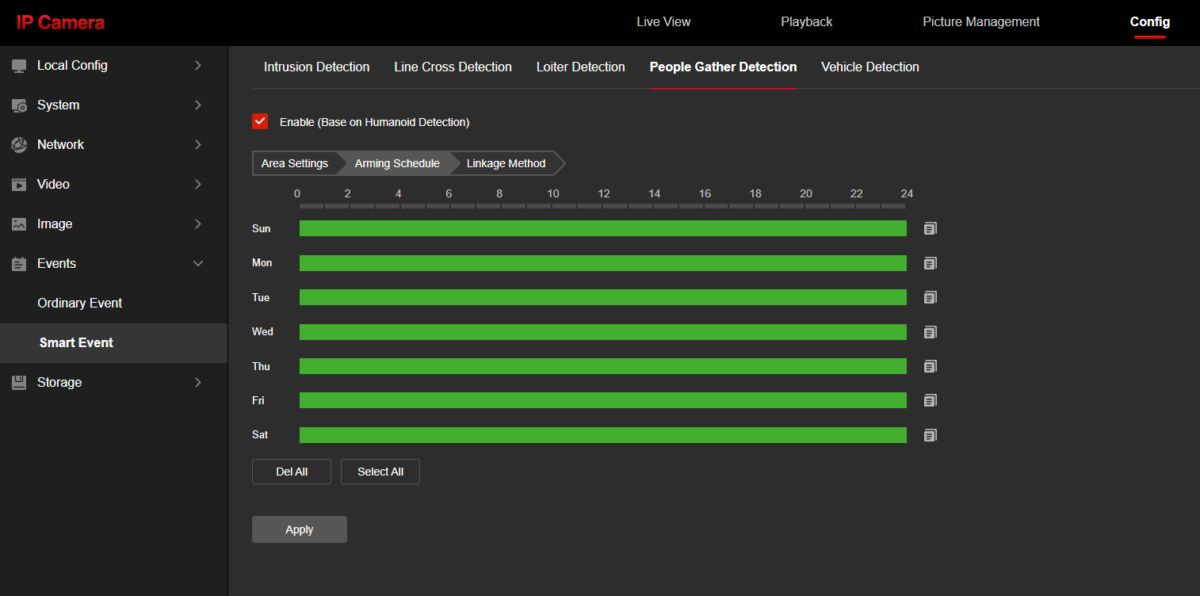
In the schedule area you can set a schedule for when the system looks for intruders.
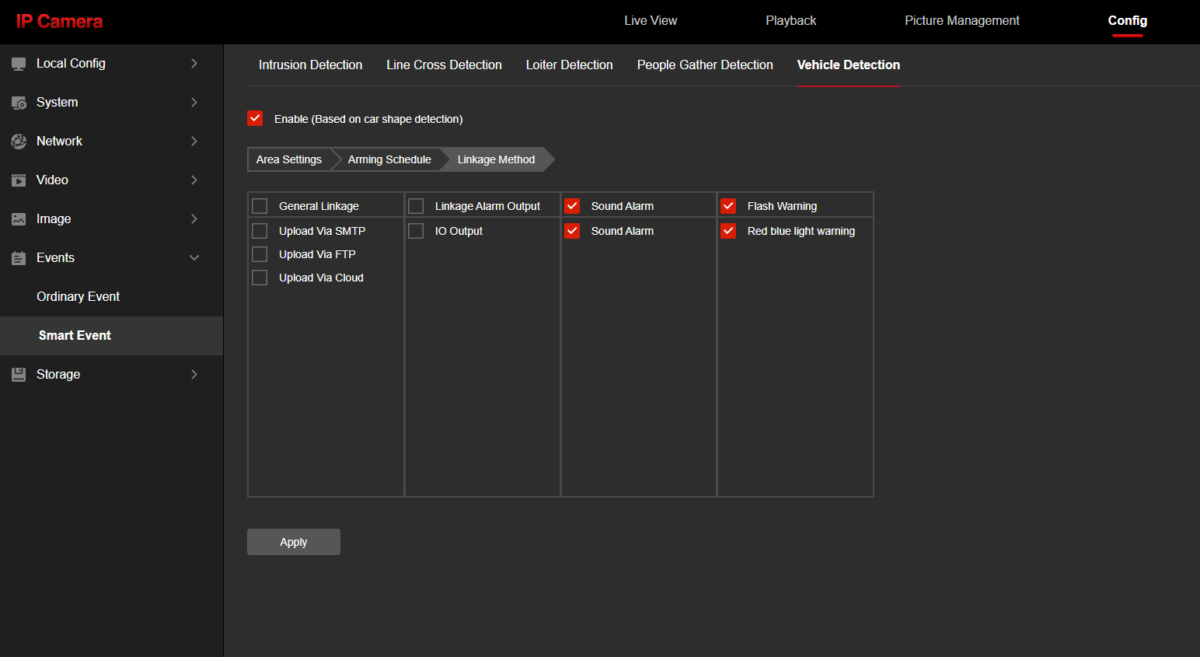
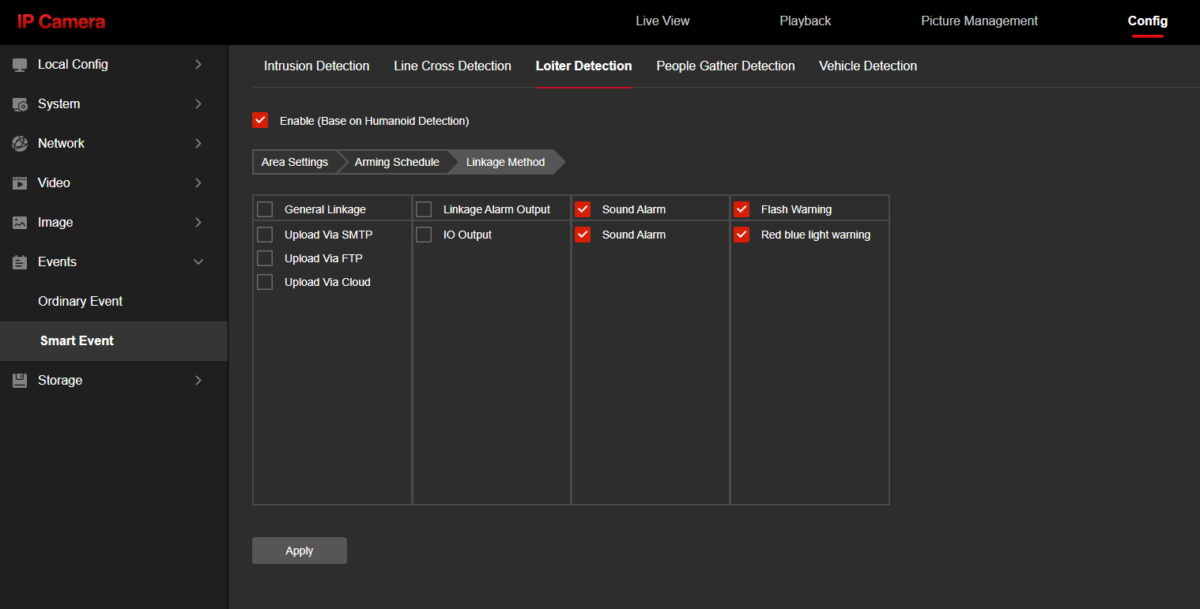
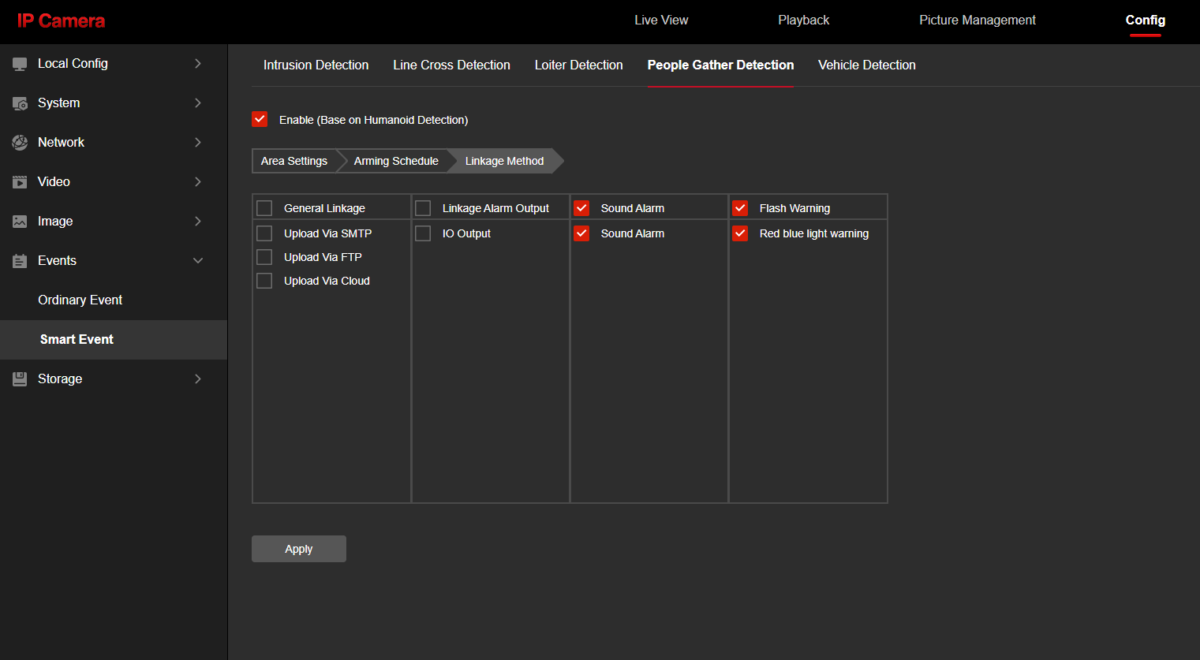
In the Linkage Method tab you can select what the camera does after it detects an event.
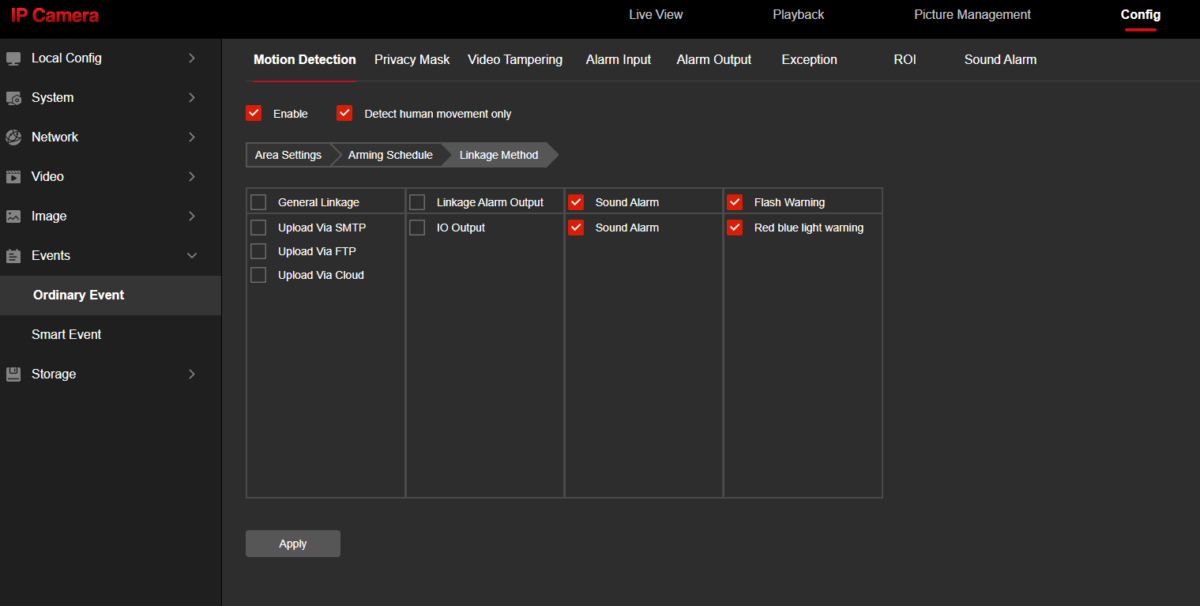
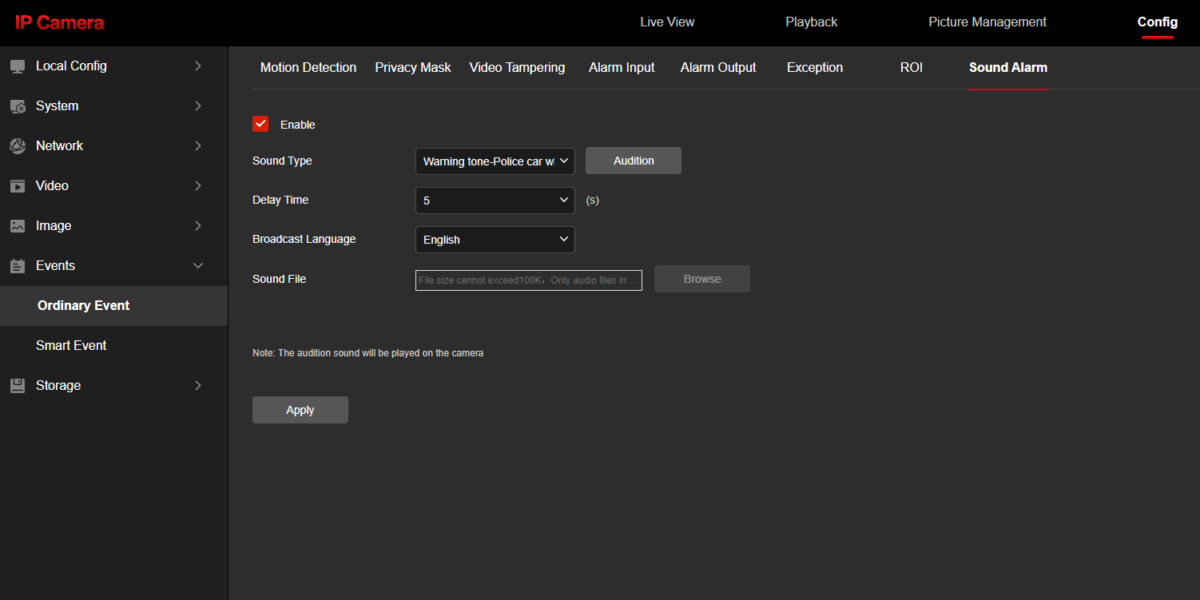
You can select which alarms are in the Sound Alarm section.
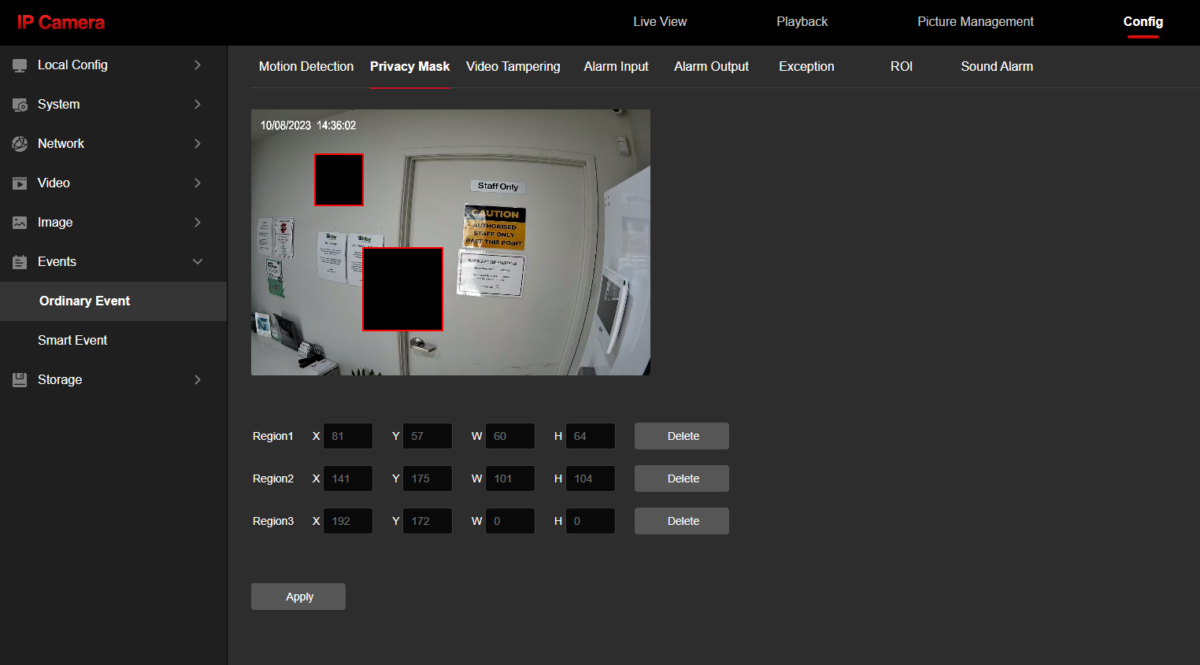
Privacy Mask
Sometimes you may wish to hide an area and not record it. This may be a bathroom window next door, or any other private areas. Simply mask up to three areas and on playback these will be black squares.
Video Tampering
Intrusion Detection (Smart Event)
Intrusion detection allows you to draw up to four zones and if people enter those areas it will trigger an event. In this example we selected the door.
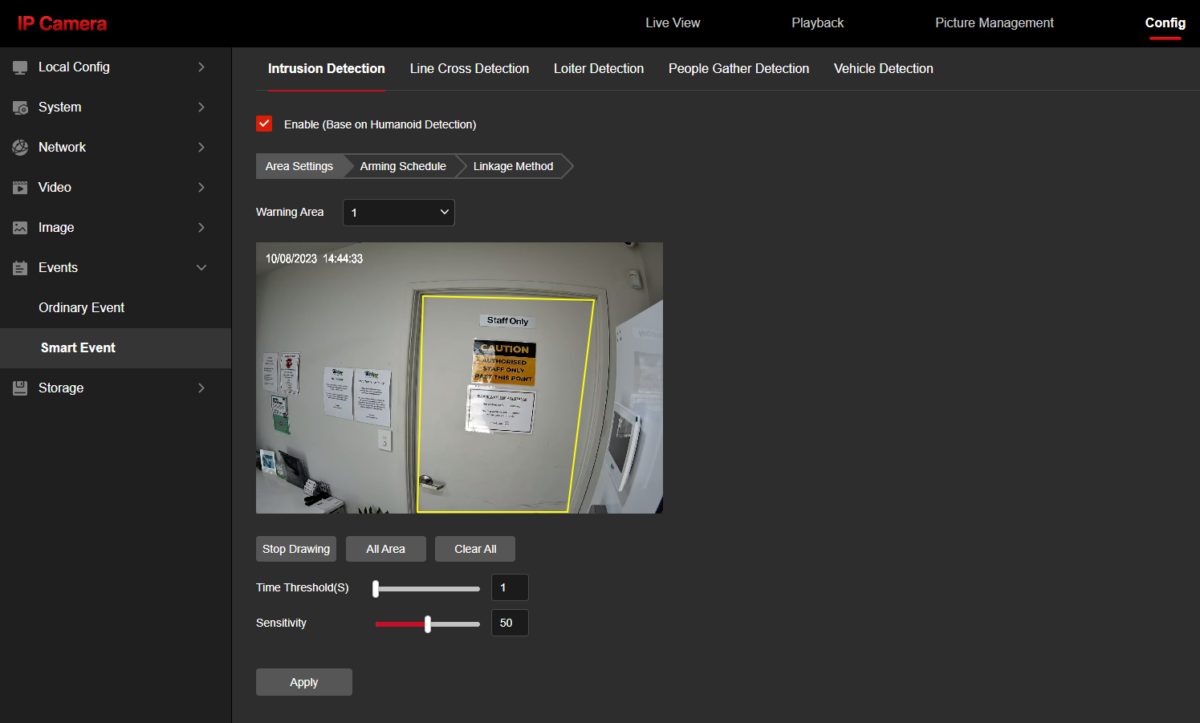
This also has the same linkage methods and schedule settings.


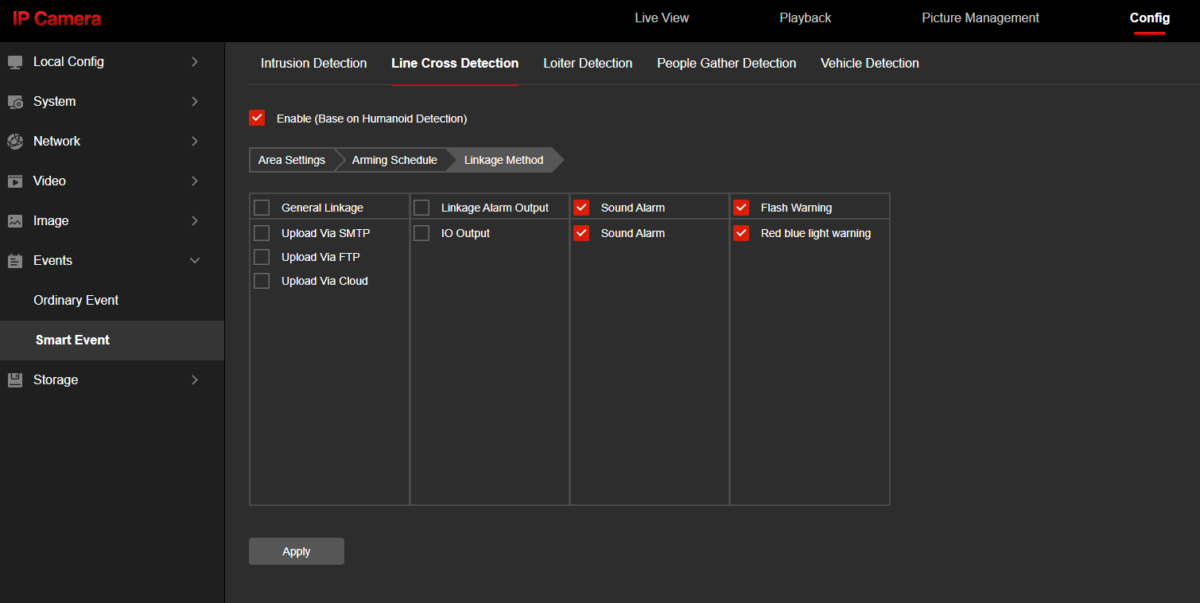
Line Crossing (Smart Event)
The line crossing system allows you to draw up to four lines and select which direction or both that target needs to cross.
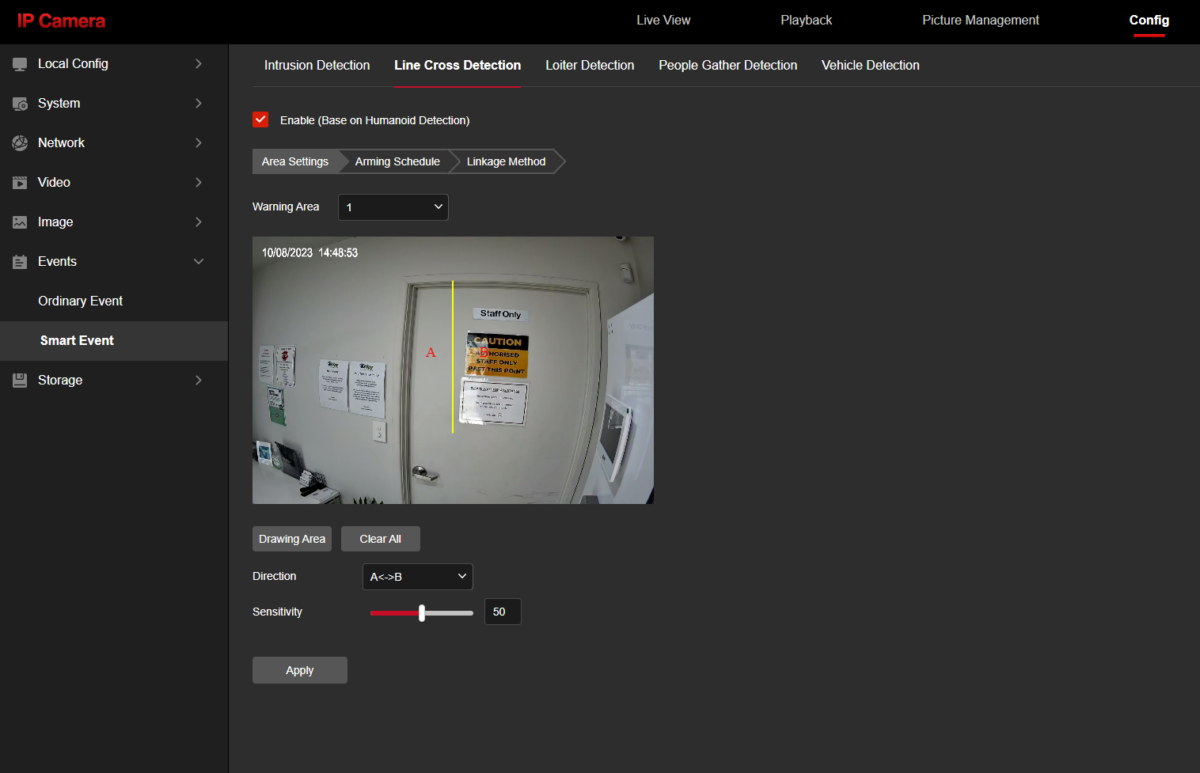
Line crossing has the same linkage methods and schedule settings.
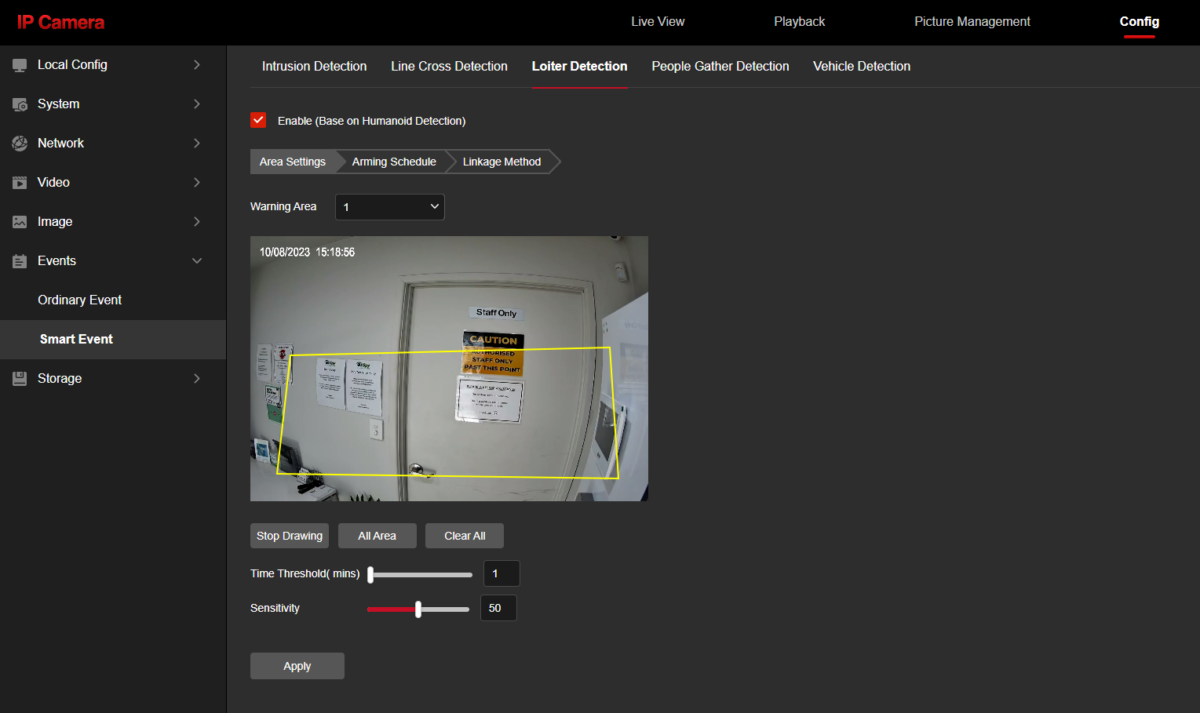
Loiter Detection (Smart Event)
Loiter detection function is to set to detect people walking back and forth in a certain areas and trigger alarm. You can set up to four areas.
Loiter detection has the same linkage methods and schedule settings.
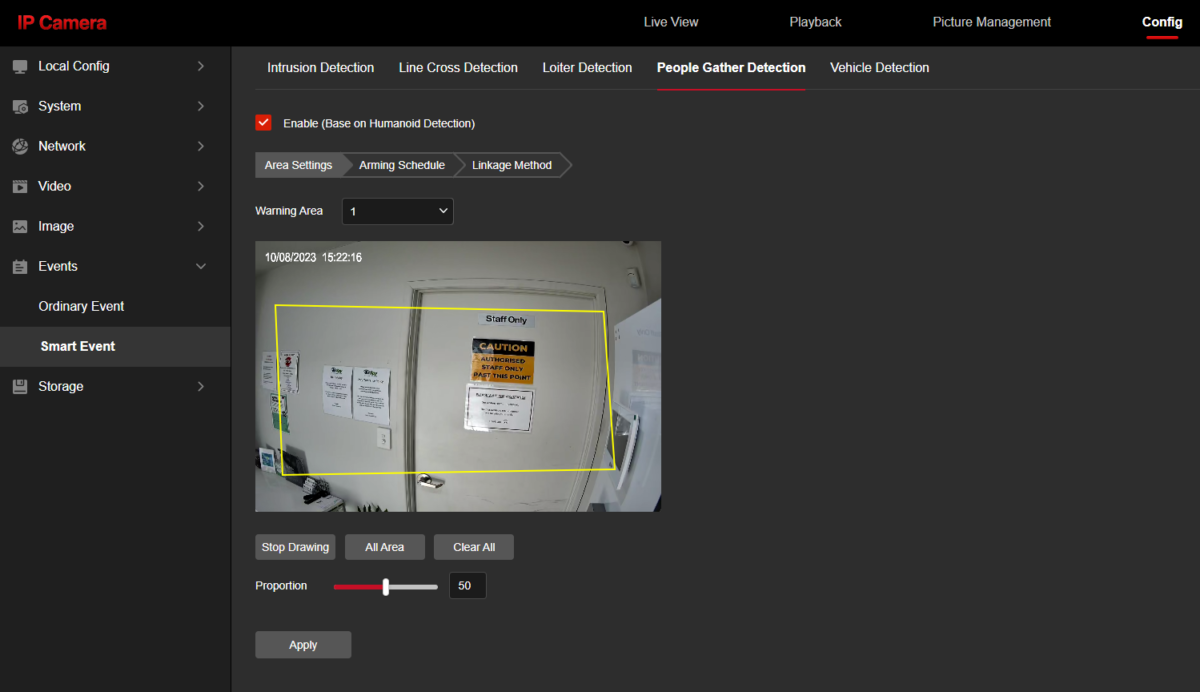
People Gathering (Smart Event)
People gathering: you can draw a area and set the people proportion, set within the range of 1-100%, represents the proportion of personnel in the entire alert area. When the proportion of personnel exceeds the set proportion, the system will generate an alarm. The default proportion is 50%. The higher the value, the more people the alert area can accommodate and the less likely it is to trigger an alarm.
You can set up to four areas.
People gathering detection has the same linkage methods and schedule settings.
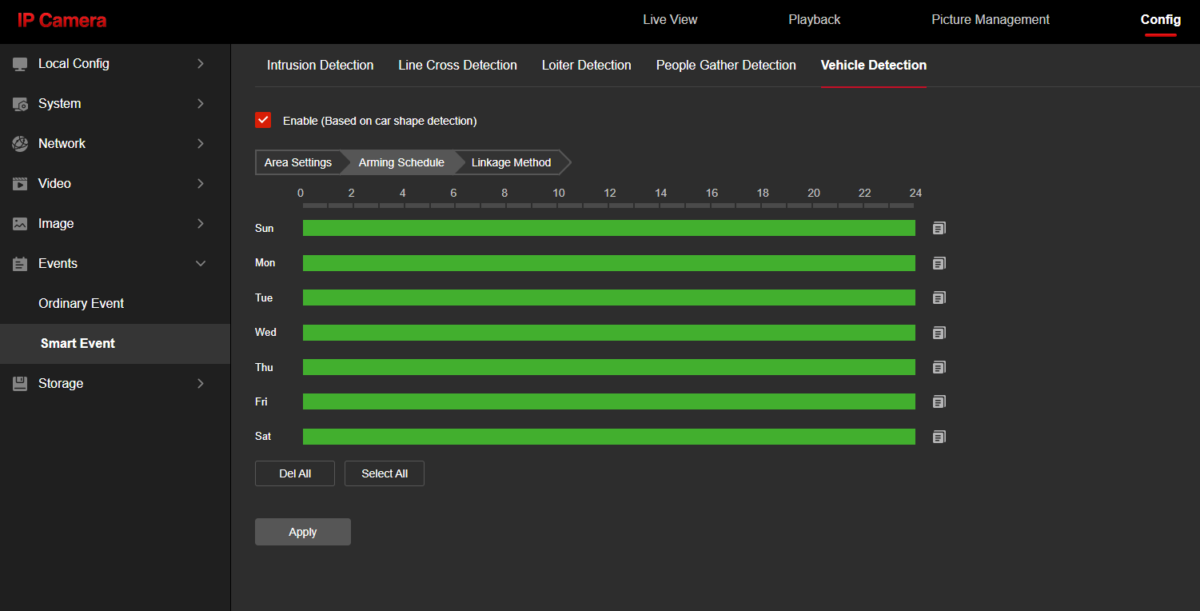
Vehicle Detection (Smart Event)
Vehicle detection allows you to add up to four zones where the system will register a smart event if it detects a vehicle in any of the zones.
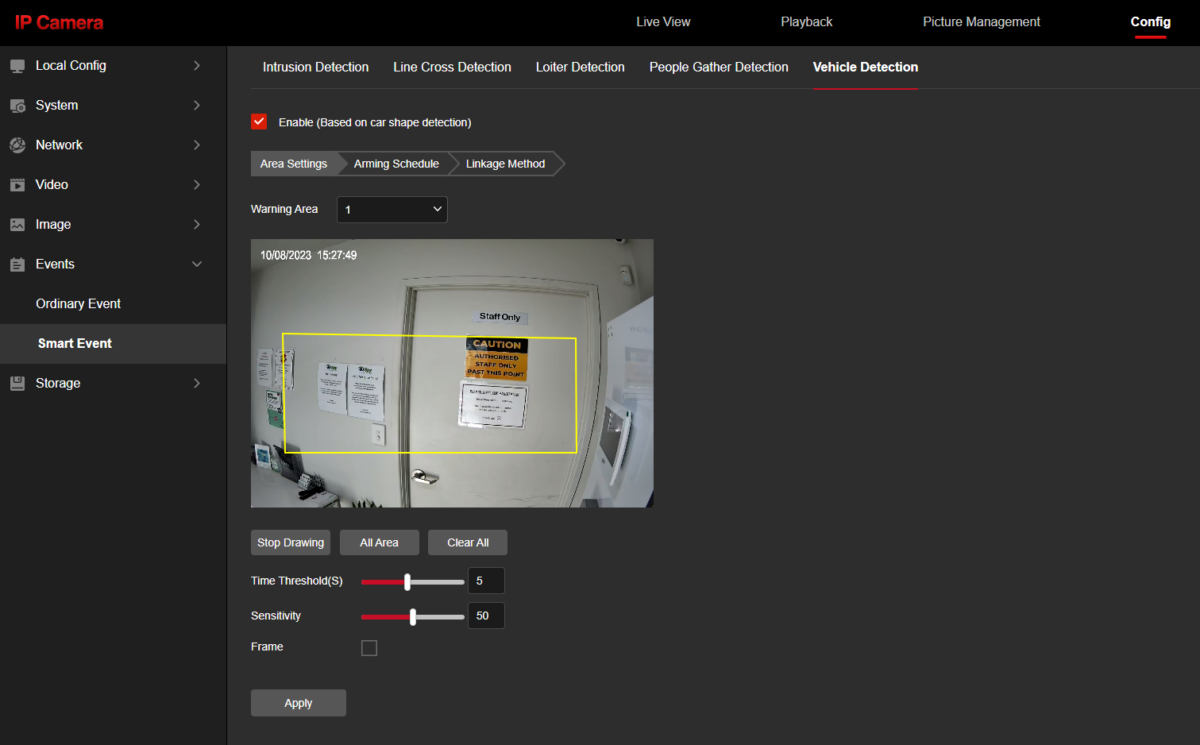
Vehicle detection has the same linkage methods and schedule settings.