What if you wanted to set up a camera in a remote location and needed to remote view, in this article we will discuss a simple way to set up a remote surveillance set-up with a 3G modem and a car battery/solar system using a standard IP camera.
We will only cover setting up the camera for email alerts, remote access and motion detection as well as the overall set-up, we will not be covering setting up the 12v DC power supply.
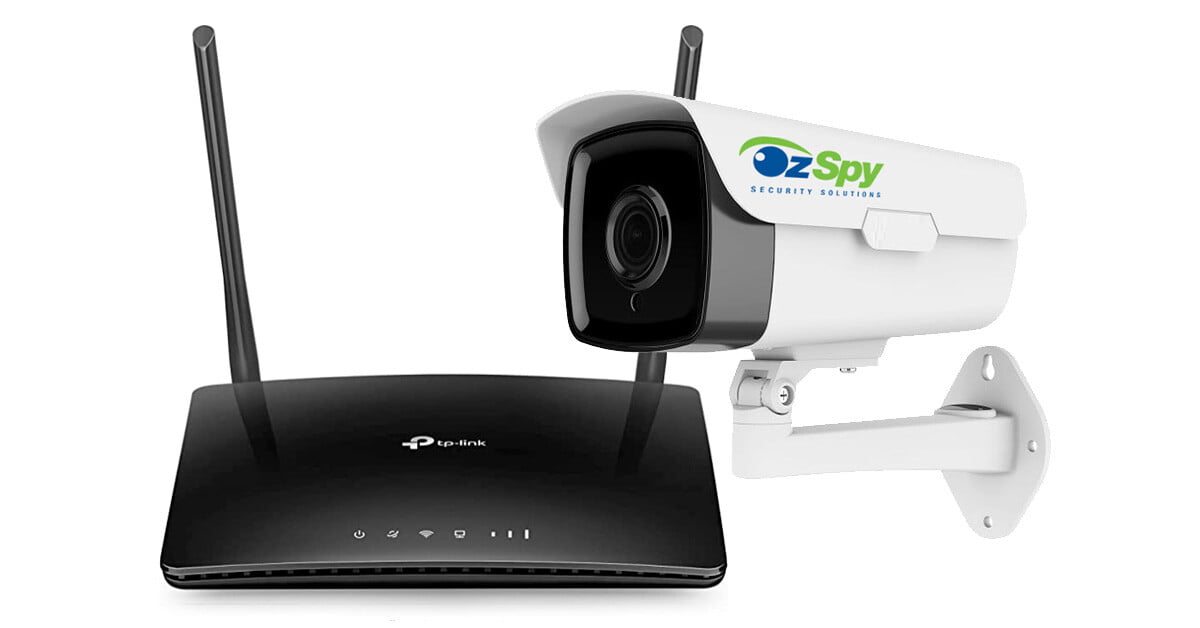
Firstly you will need all your parts:
1x 3G modem with RJ45 (LAN) plug preferably 12v DC
1 x IP camera with SD and P2P
1 x 12v power source like a car battery or solar set-up with a 2.1mm DC connector attached
1 x 2 way DC splitter (Search our site for VPSPLIT) for dividing the power to both devices
1 x IP66 JBOX
1 x LAN lead (Cat5 or Cat6)
1 x 12v DC power supply for initial setup
Despite many people telling you how hard this is, it is relatively simple.
Before going bush, you will need to set up your system and test it from home, so for now in the comfort of your home, insert the SD card (preferably 128GB), plug the camera into your home modem and also into the 12v DC power supply and then open internet explorer (must be IE) and type in your cameras IP address. If you are using an OzSpy IP camera, it is probably 192.168.1.168. If you are on the wrong network range, you will need to fix that first so you can see the camera.
Next login to the camera and set-up your email alert, this will set the camera to take a high res image and email it to you whenever it sees motion. Now download the correct app, if you are using an OzSpy camera, this will be FREEIP or BITVISION, then navigate to the Config>Network>Advanced>P2P and scan the serial number into the app, you should now have live view on your phone, and set-up motion detection so the camera knows to take action when it sees something move.
Make sure everything is saved and restart your phone and the camera and test again.
Now the last step is to plug the camera into your new 3G router and test to see if you have connectivity. As you have already setup your camera and phone app, now you simply unplug the LAN lead from your home modem and plug it into your new 3G modem, restart the 3G modem and the camera, wait 5 minutes and then test the phone app, you should now be set-up.
The last step it to take your set-up to it’s location and finish the set-up.
Once on site locate your 12v DC power source and use the VPSPLIT to give you power to the modem and the camera, you can add an extension cable to the camera to put it up high, or hide it away somewhere. You will also need to make sure that the modem is weatherproofed so use an IP66 weatherproof JBOX, available from electrical suppliers. Do not use a metal box as this will cause a loss of signal to the 3G modem.
After plugging it in, wait five minutes and walk in front of the camera, you should receive an email, and if you have PUSH activated on the app, your mobile should show a notification. Lastly, try logging into the camera with the app, you should be able to view the camera remotely now showing your setup is working well.
An alternate way of setting this up would be using PoE injector at the power end so the camera would not need the 12v DC chord and you could run the LAN cable to the camera a larger distance with less effort.