Most of the OzSpy branded security camera systems use an app called BitVision, and some may use the FREEIP app. Both of these apps use a very similar process, so if you are using FREEIP, this guide will also help.
There are two methods of connecting your cameras to the app, one is a local connection which does not need an account, and the second is via an account.
We recommend you use the account method, this way you can access your cameras via the https://bitvision.app/ website, and you can easily share your devices. The other advantage of using an account is when you change phones, have multiple devices, or want to allow family members to log in without going through the sharing process.
To do this you will need the BitVision app installed, access to your security system, and access to your email.
Setting up your BitVision Account
Setting up an account is very easy and can be done via the https://bitvision.app/ website, or the BitVision mobile app. The below will cover each method and show you how to add your security cameras to the account.
Website
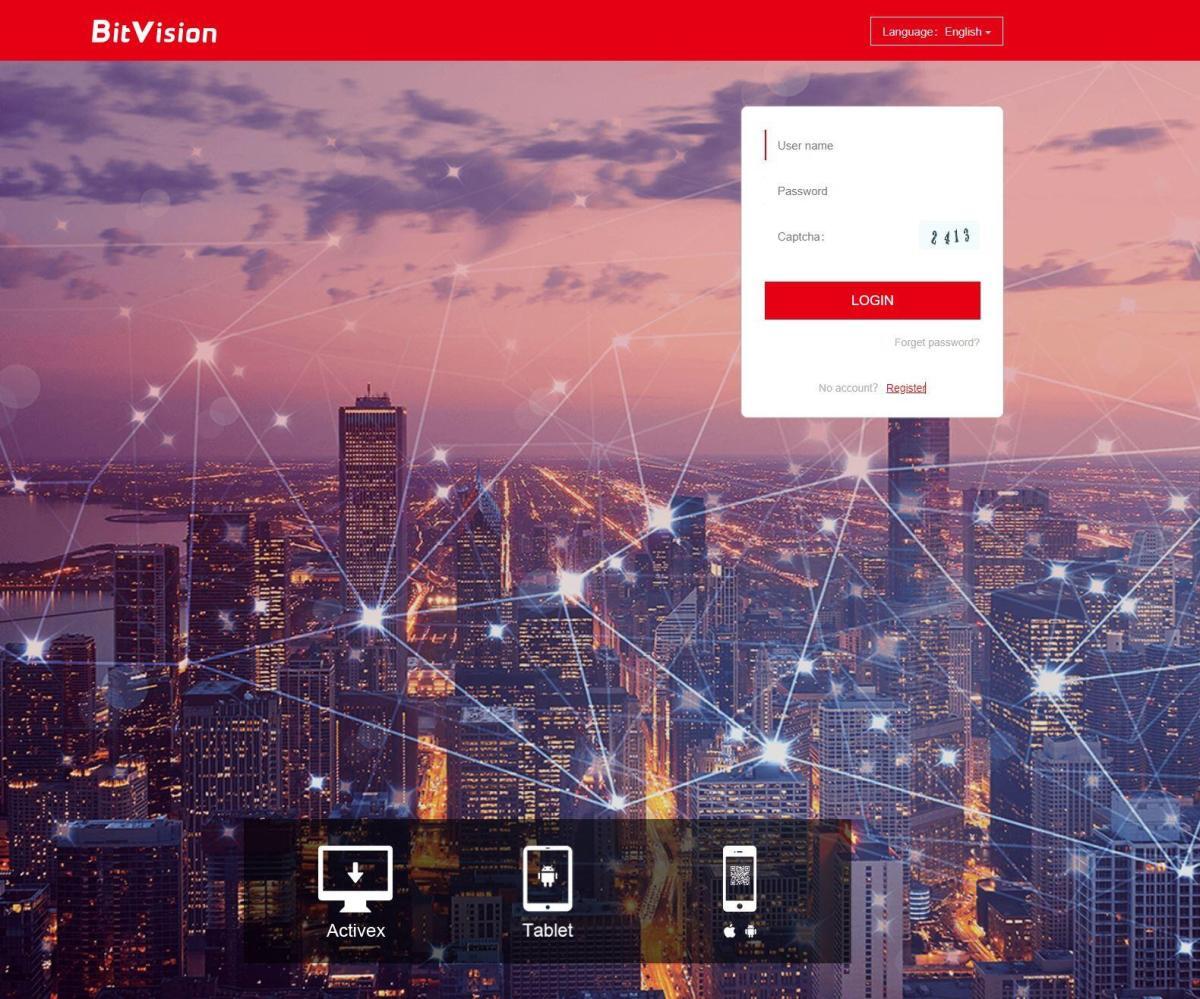
To set up a BitVision account via the BitVision website, go to https://bitvision.app/ and you will see the below page, click on the ‘No account? Register’ link under the login button.
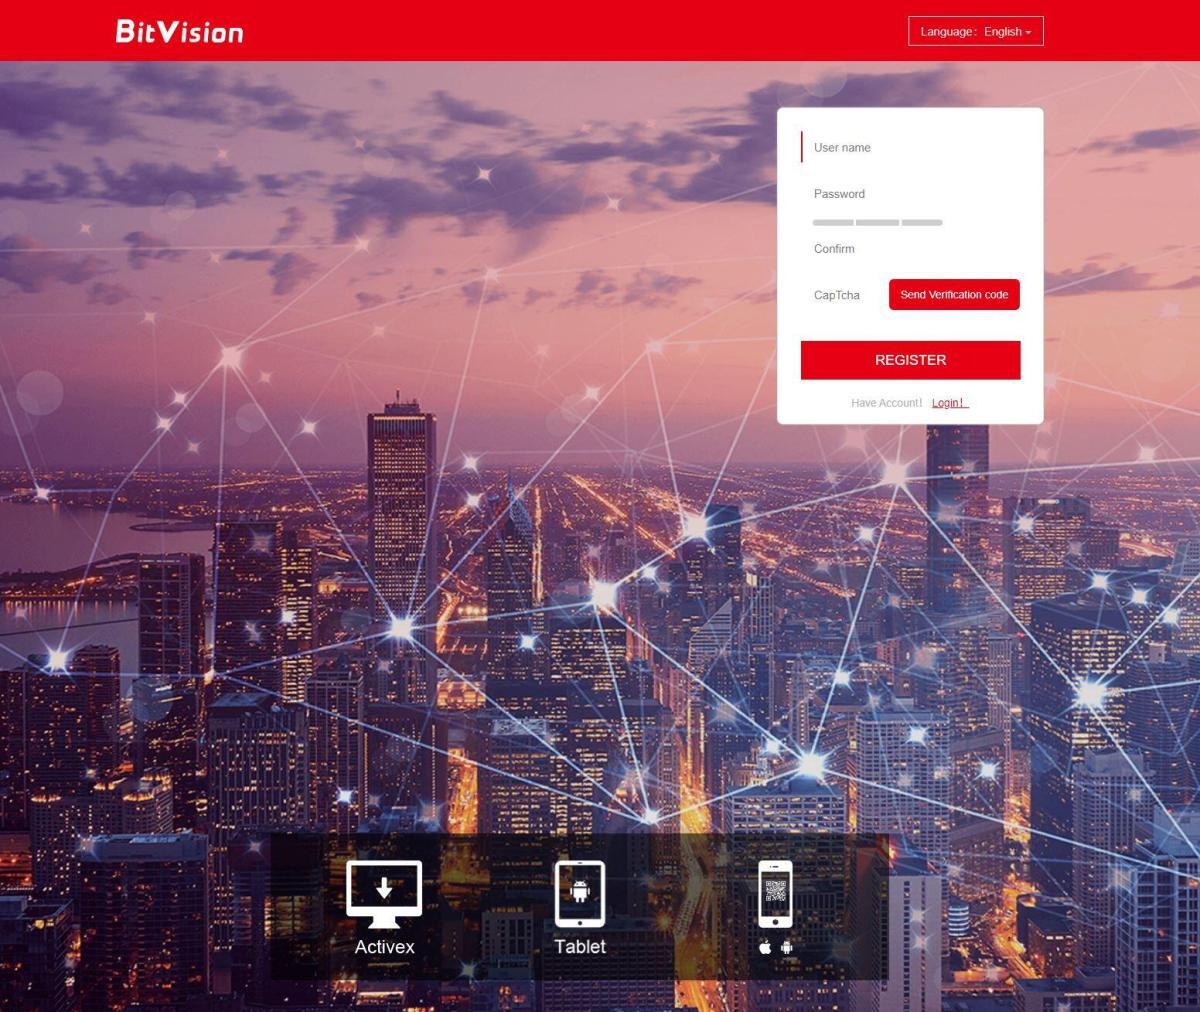
Then you will see this page, add your username, which will be your email address, add a password of your choosing and click the red ‘Send Verification Code’ button. The system will then email you a code, check your email account, find and add the code to the BitVision page and you are registered.
App
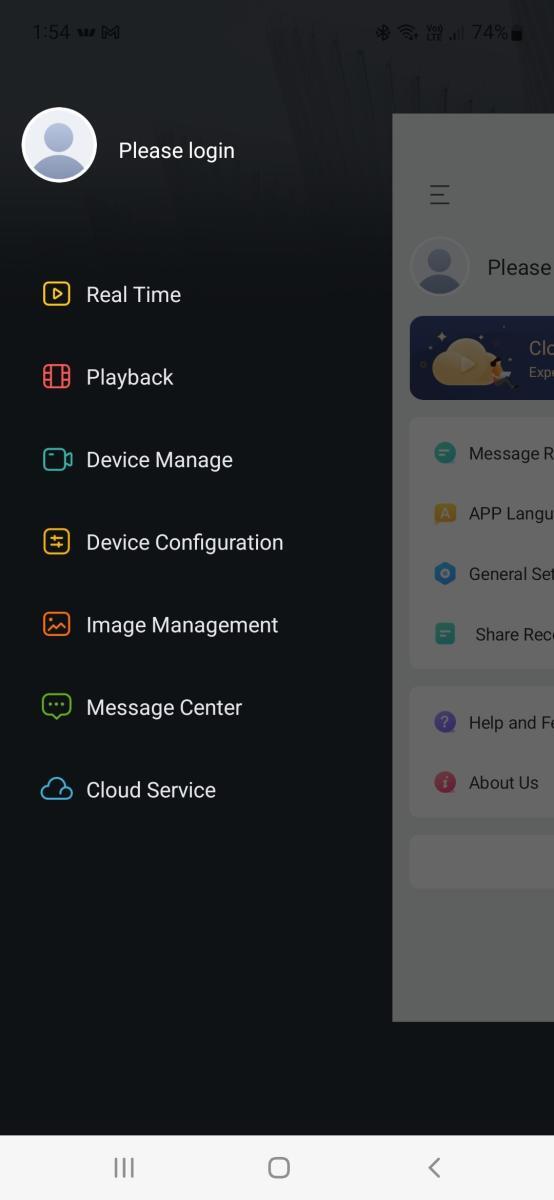
To set up a BitVision account via the BitVision app, open the app and click the hamburger menu icon on the top left, then click ‘Please login’ at the top of the screen.
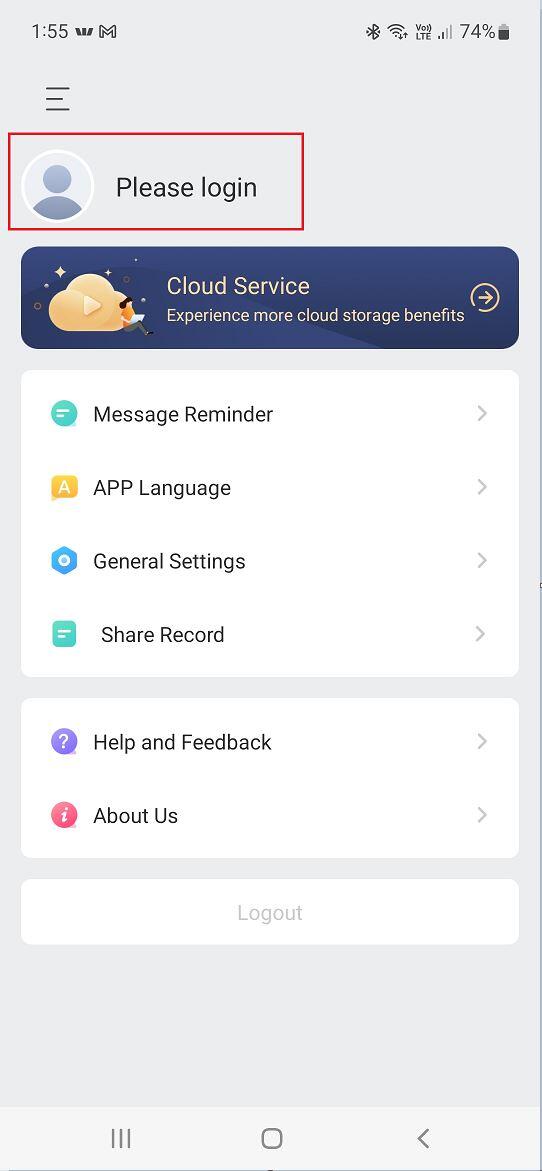
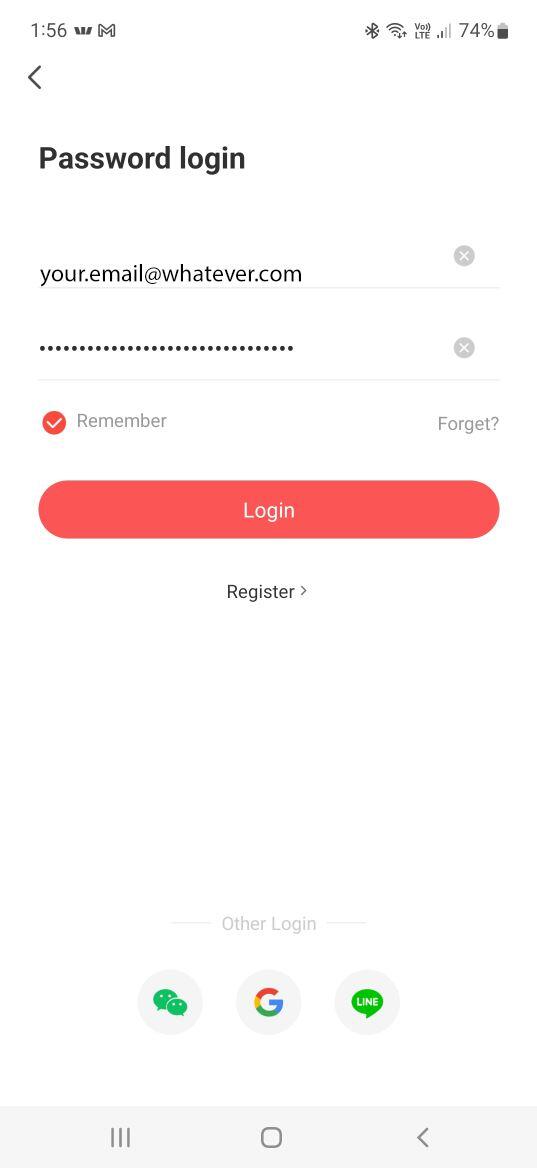

Then click the ‘Please login’ again on the top of the next screen and it takes you to the login screen. Once there click ‘Register’ which is just under the login button.
Then add your email address as the account name, your chosen password, then click the ‘Send Code’ button. The system will then email you a code, add the code you received by email and you are registered.
Now you have a BitVision account and are ready to add your security cameras.
Adding your security cameras to a BitVision account
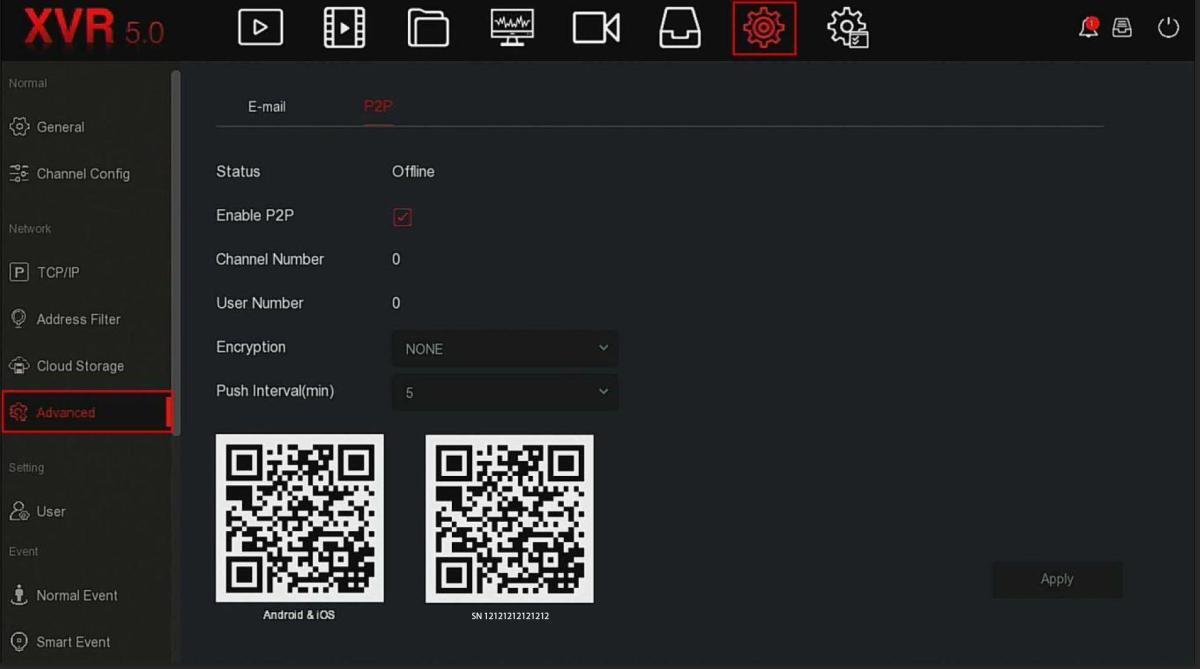
For this you will need to log into your recorder and find the P2P section, which is normally around the networking options. If you have XVR 5.0 interface it will be here.
Then ensure you are logged into your app on the mobile device and press the top left hamburger menu and the main menu should appear. Go to ‘Device manage’ and click the red + round button on the bottom right. Then the ‘Add Device’ window will pop up, select ‘SN Add’.
Your phone/tablet camera will activate, and you can now scan the serial number on the P2P page on the security system monitor.Scan the one with the serial number, normally around 10 digits.
Once you have scanned the serial number, the device will ask you for several things.
- Device name: You can name this anything, like Home, Work, or anything else
- Device username: This will be ‘admin’ unless you have set up a different user account, by default it is ‘admin’
- Device password: This will be the XVR/NVR password, by default it is ‘12345’
- Captcha Code: This is on the sticker under your XVR/NVR and is normally around a 6 digit alphanumeric code
- Choose a group: select ‘My devices’
Then press large red ‘Add Device’ button and your device is added.
You can now log into your BitVision app with any device, and log into the BitVision website – https://bitvision.app/ – and view your cameras from your PC.